Options Management
When a product has multiple colors or sizes, you can manage them through options.
Step 1: Create Option Groups
On the product edit page, click the "Options" tab:
- Click "Add Option Group"
- Enter the group name, e.g., "Color" or "Size"
- You can add multiple option groups
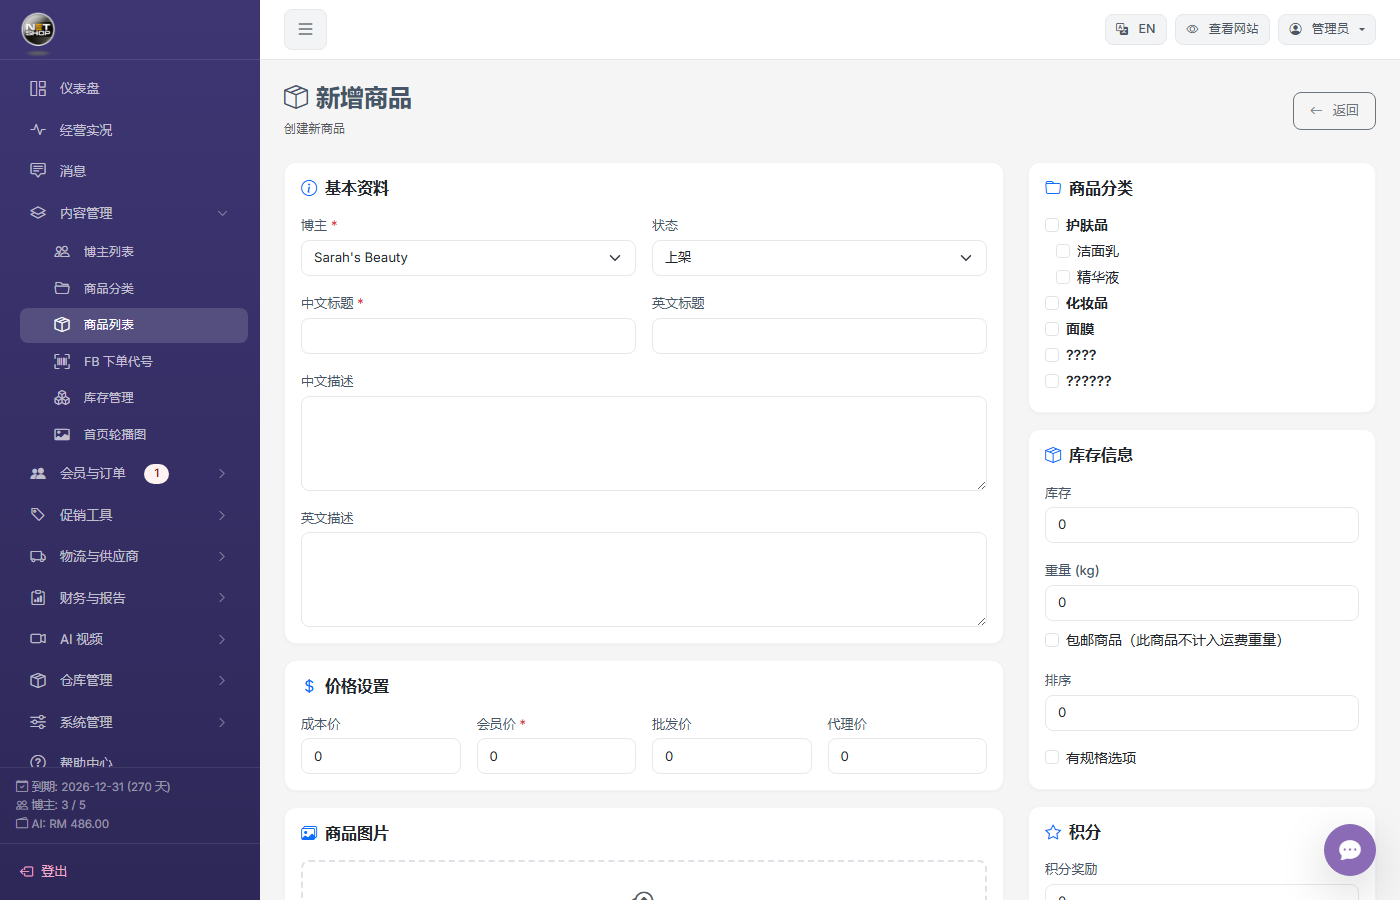
Product edit page — Options are managed here
Step 2: Add Option Values
Add specific option values under each option group:
- Color group: Red, Blue, Black
- Size group: S, M, L, XL
💡 Tip:Click "Add" under an option group, type the value name (e.g., "Red"), and press Enter to confirm. You can add multiple in a row.
Step 3: Generate Option Combinations
The system automatically generates all combinations from the option groups, e.g.:
- Red-S, Red-M, Red-L, Red-XL
- Blue-S, Blue-M ... and so on
Step 4: Configure Each Variant
Each variant can be configured individually:
| Field | Description |
|---|---|
| Quick Code | Variant-level live ordering quick code |
| Member/Wholesale/Agent Price | Variant-level pricing (leave blank to use product price) |
| Stock | Variant-level stock |
| Weight | Variant-level weight |
| Image | Variant-specific image |
| Status | Independent enable/disable |
💡 Tip:After variants are generated, expand each row to set price, stock, and image. Blank fields fall back to product-level defaults.
Note:Once options are added, the product-level stock becomes inactive — variant-level stock takes over.